The other day I came across a Hyper-V host server where an OS crash had occurred. A new OS install was made on the C: drive. After the rebuild, the D: drive’s VMs (VHDX’s etc.) were visible and appeared to be fully available, but when an attempt was made to import the existing VMs or even access the files, the following error message was displayed:
"The target of the symbolic link doesn't exist"
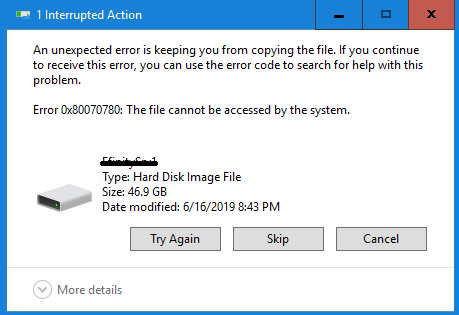
Trying to access the with Windows Explorer gave an Error 0x80070780: The File cannot be accessed by the system.
The following observations were made:
In Windows Explorer, the files appeared with the attributes “APL”, which stands for:
- A = ARCHIVE
- L = Reparse Points
- P = Sparse File

The command attrib was attempted to remove the L and the P, but no avail:

An interesting note, Windows Explorer had “Reparse Points” and “Sparse File” attributes, but looking at Attrib, it saw the files as symbolic links. It threw me off, but looking at how Windows Explorer saw the file started me down the path of Deduplication.
Looking at https://docs.microsoft.com/en-us/windows-server/storage/data-deduplication/understand, we see that Windows Deduplication works with reparse points, so perhaps this data drive had deduplication turned on for data drive.
On that note, the Data Deduplication feature was installed, the server restarted, and YES!!! All the large files (VHDX, ISO, etc.) were available!!
To disable DeDuplication:
If DeDuplication is disabled, it doesn’t actually undo the work that was done, and if it is disabled, garbage cleanup commands can’t be run.
It’s VERY Important that Deduplication is left enabled, but leave the entire drive Excluded.
Once that’s done, run the following two commands (which will take quite a bit of time depending on how much data there is).
The unoptimise command:
Start-DedupJob -Volume -Type Unoptimization
Check the status:
Get-DedupJob
Clean up the Garbage:
Start-DedupJob -Volume -Type GarbageCollection
Once both above commands are run, you can remove the deduplication role from the server.